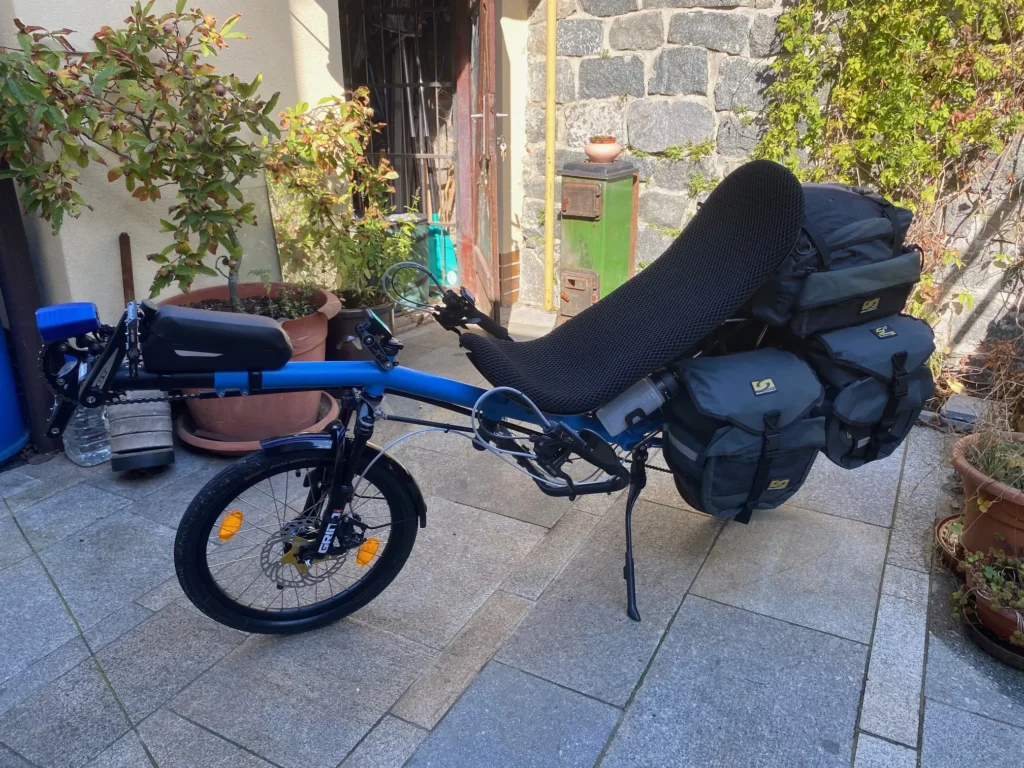
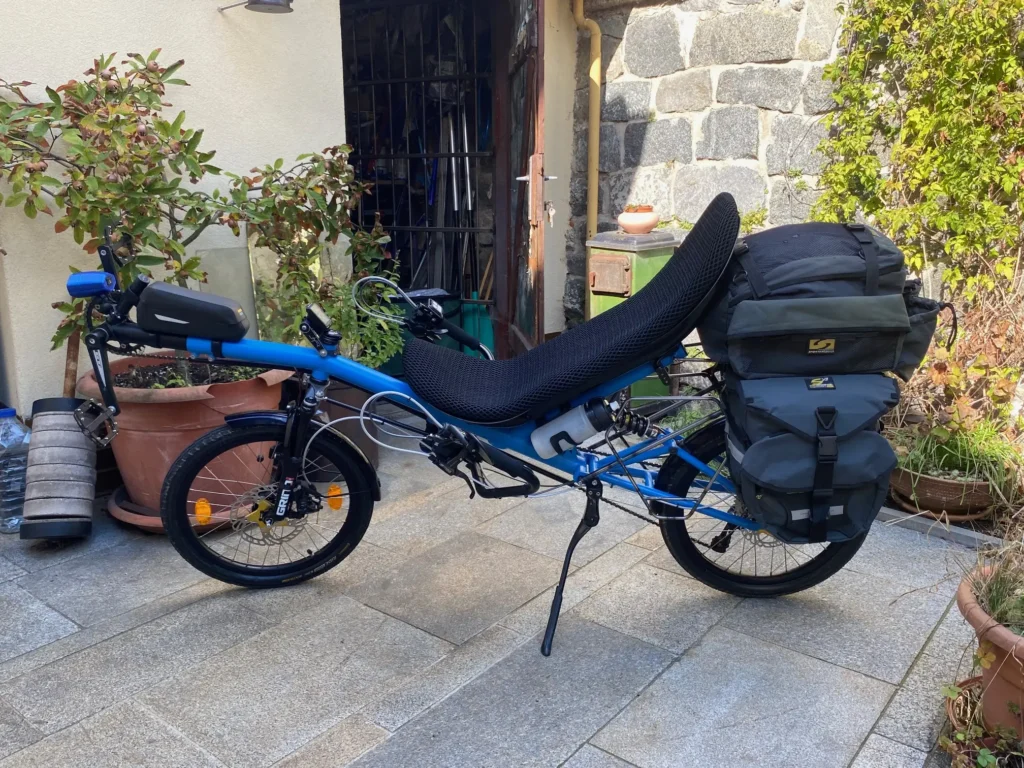
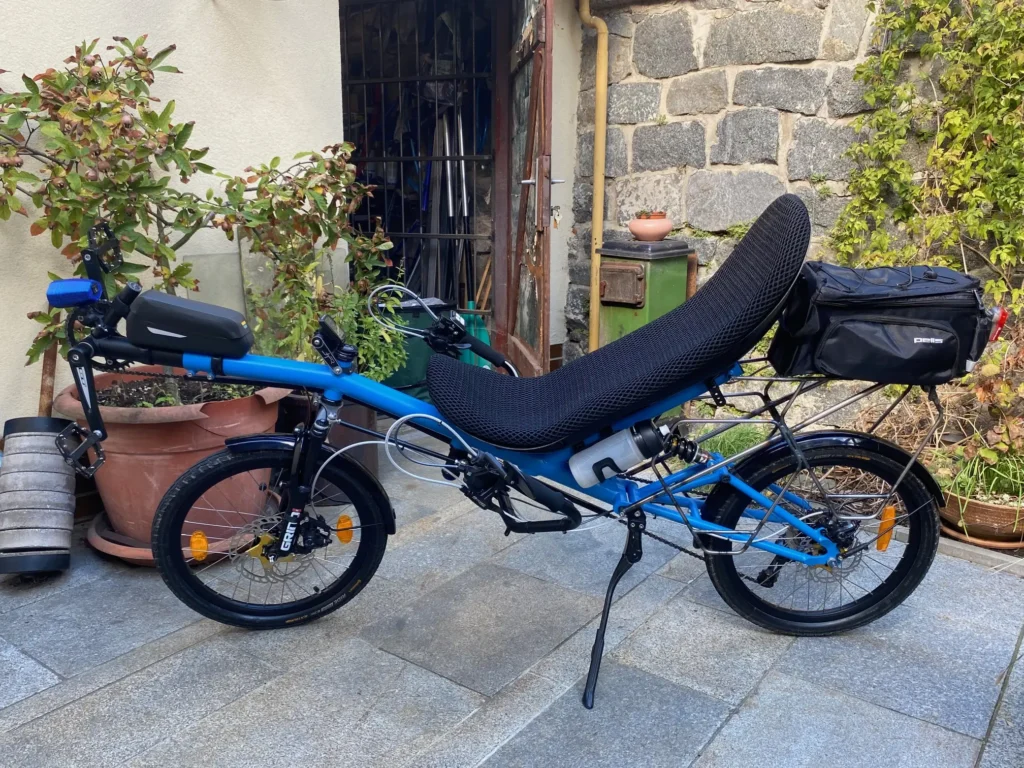
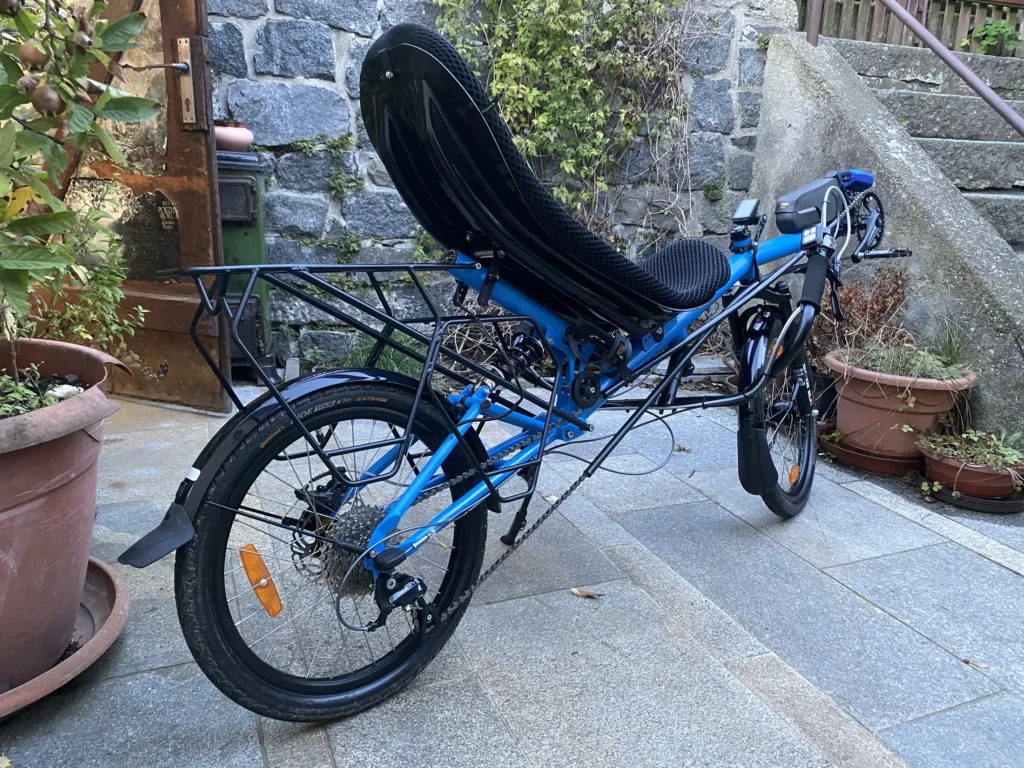
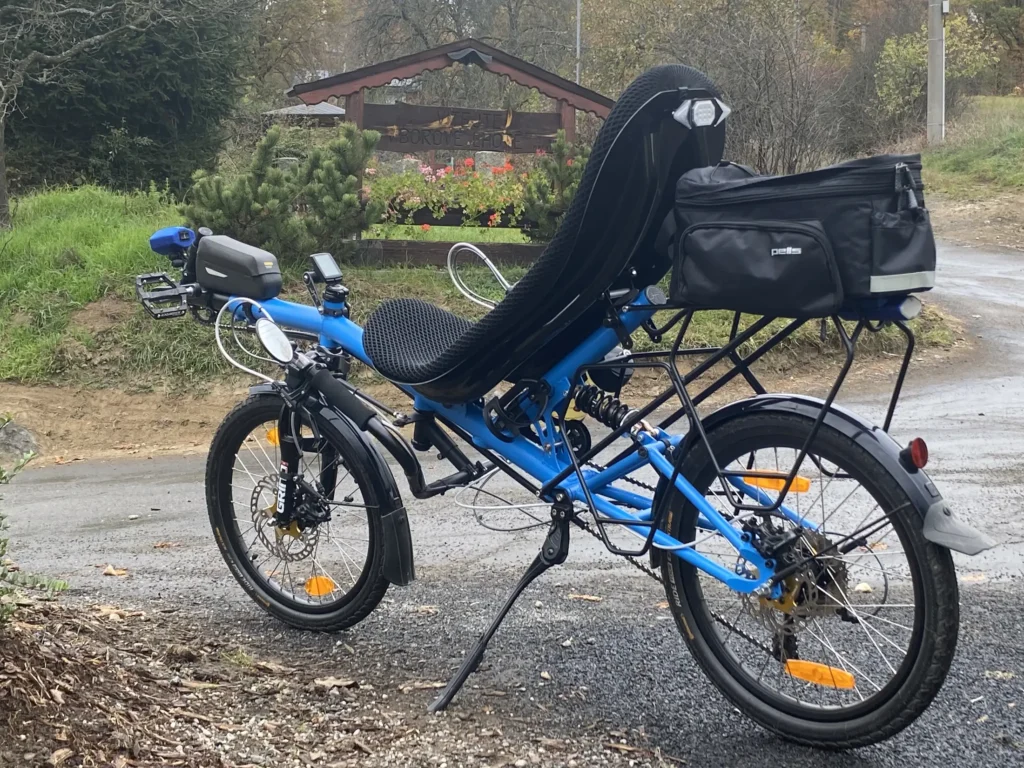
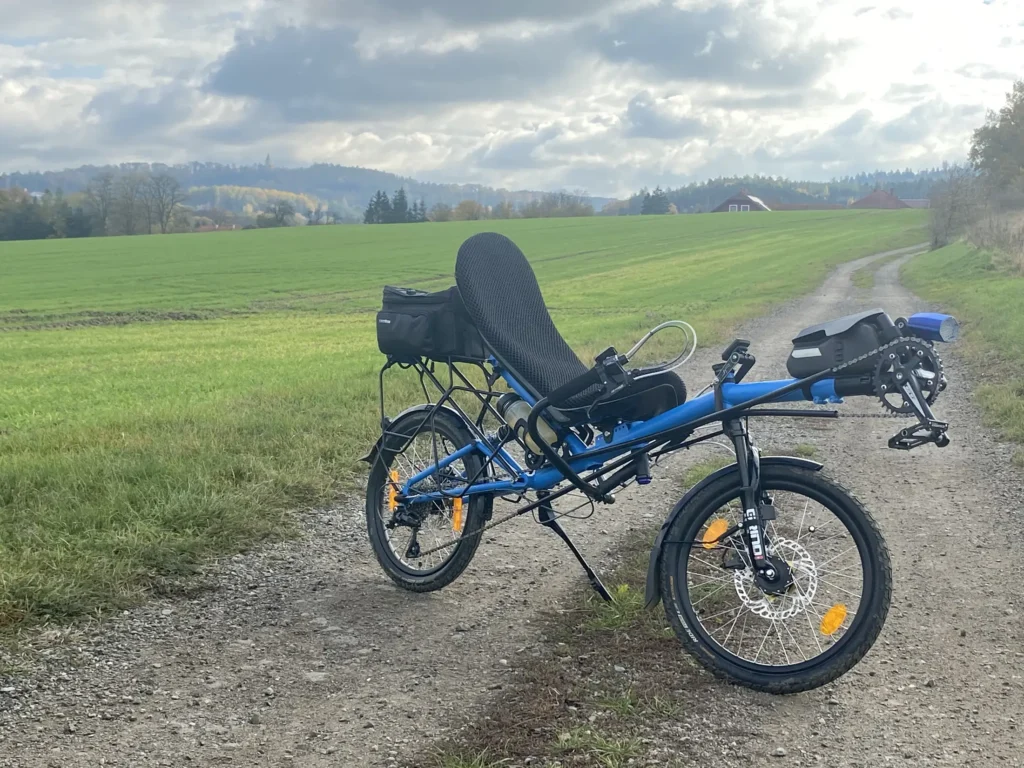
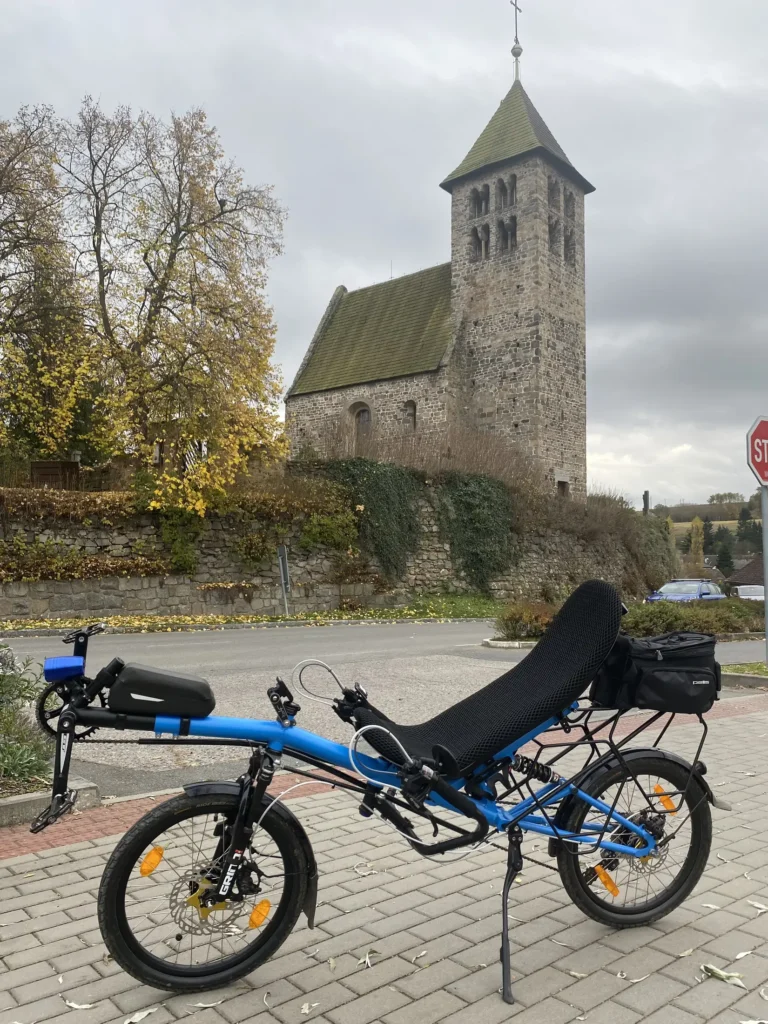
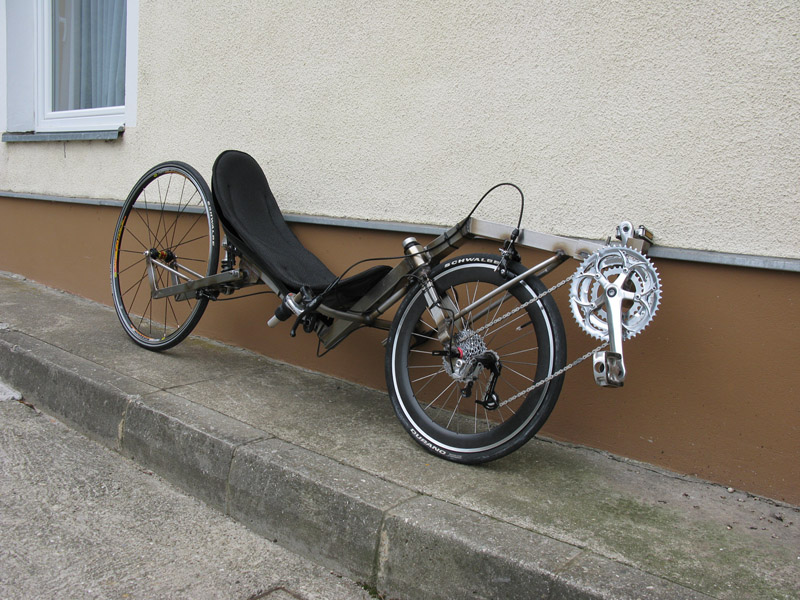
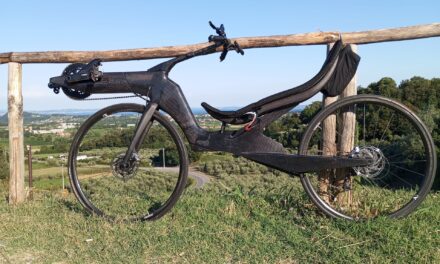
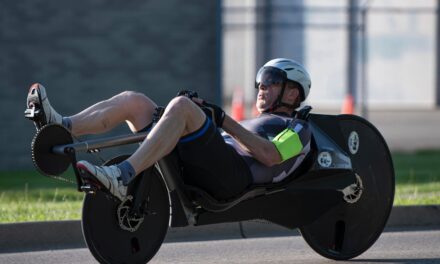
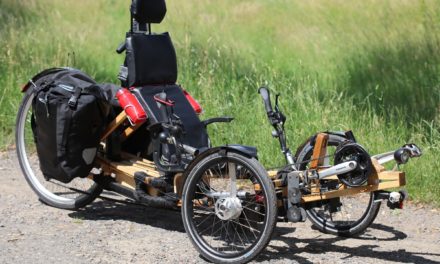
At the beginning of the millennium, it was pretty common for people to build their own recumbent bikes at home, especially in Europe. Manufacturers’ bikes were quite expensive, and the price of used recumbents was also quite high. Today, the situation is different. In the world of recumbents, you will find mainly trikes, which are significantly more demanding to build DIY. Second-hand two-wheeled recumbent bikes can be bought today for great prices on sites like Recumbent Classifieds. So, building a bike at home doesn’t make as much sense as it used to. Unless you want a concept that isn’t in standard production or you want to go through the whole building process and get proper enjoyment out of it. This is the case of Jan Tomášek from the Czech Republic, who today rides a great-looking DIY recumbent bike that he built himself.
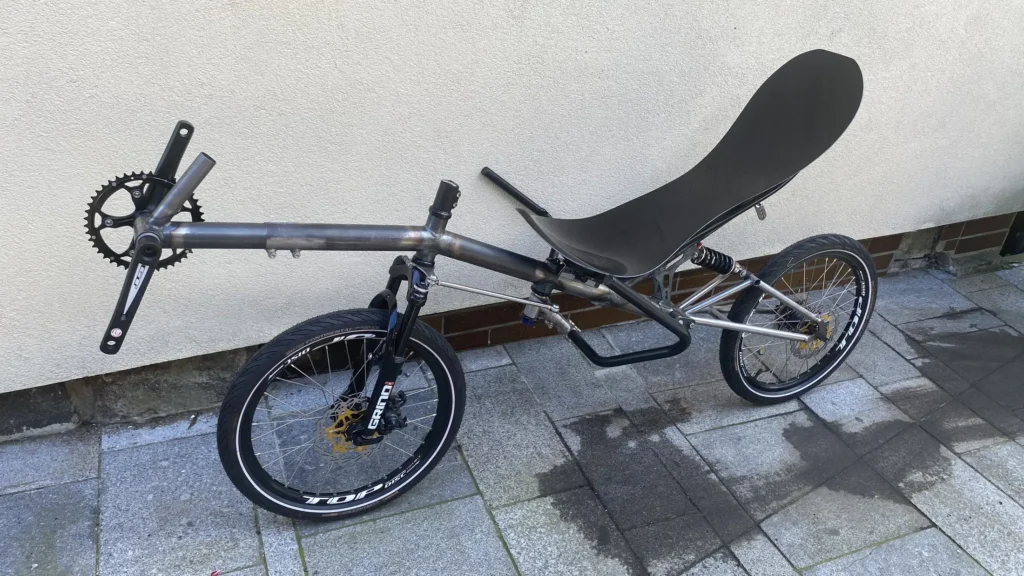
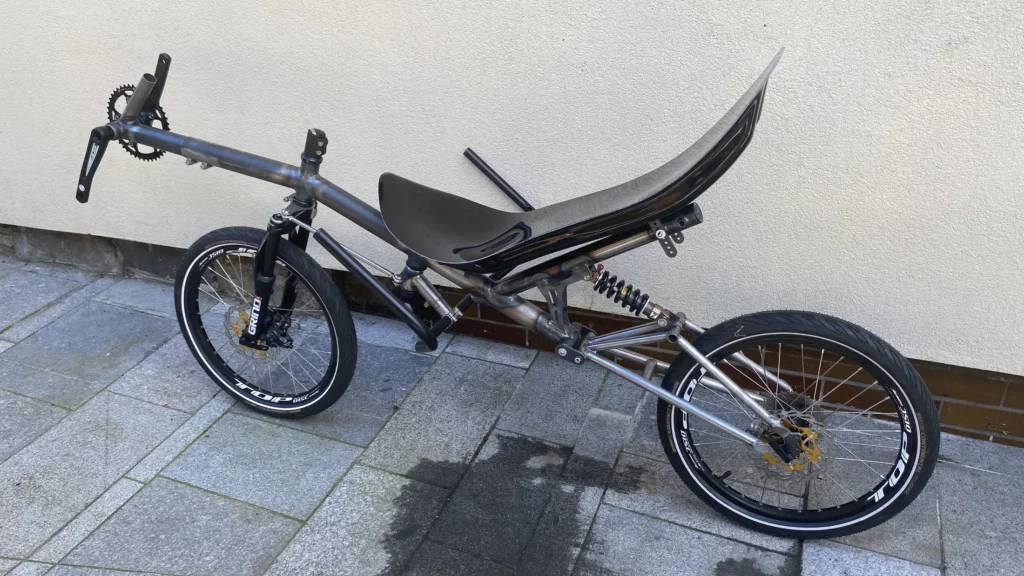
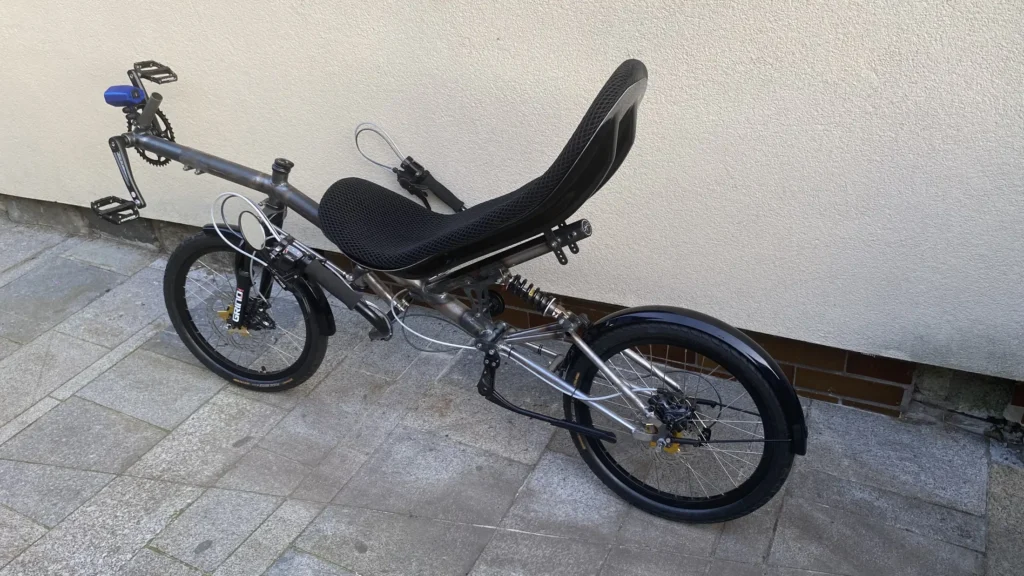
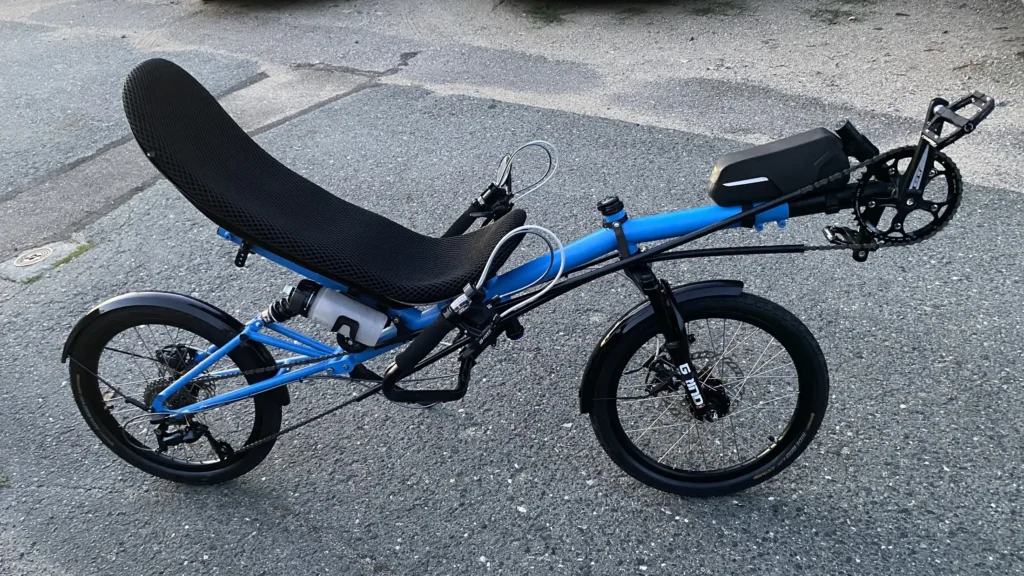
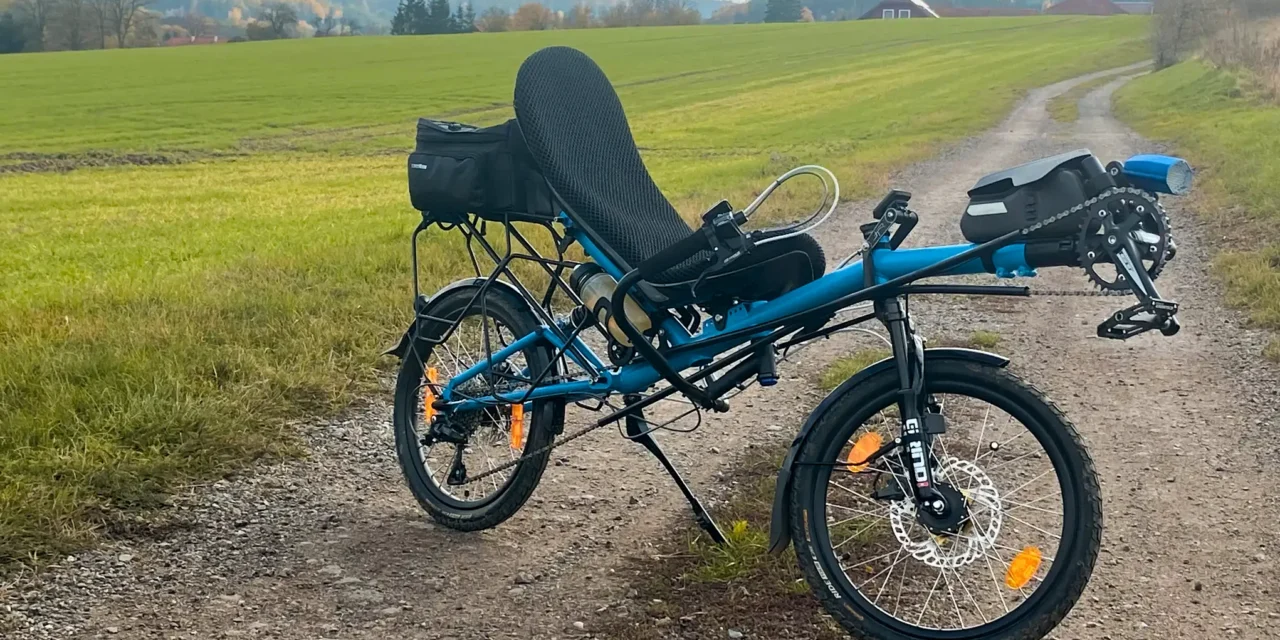
Out of the known configurations, I liked the SWB USS (Short Wheel Base – Under Seat Steering) setup with 2 x 20” wheels the most. Smaller wheels provide more space for distributing all structural elements during the design process. This configuration also seemed the most visually balanced and optimal for my needs.
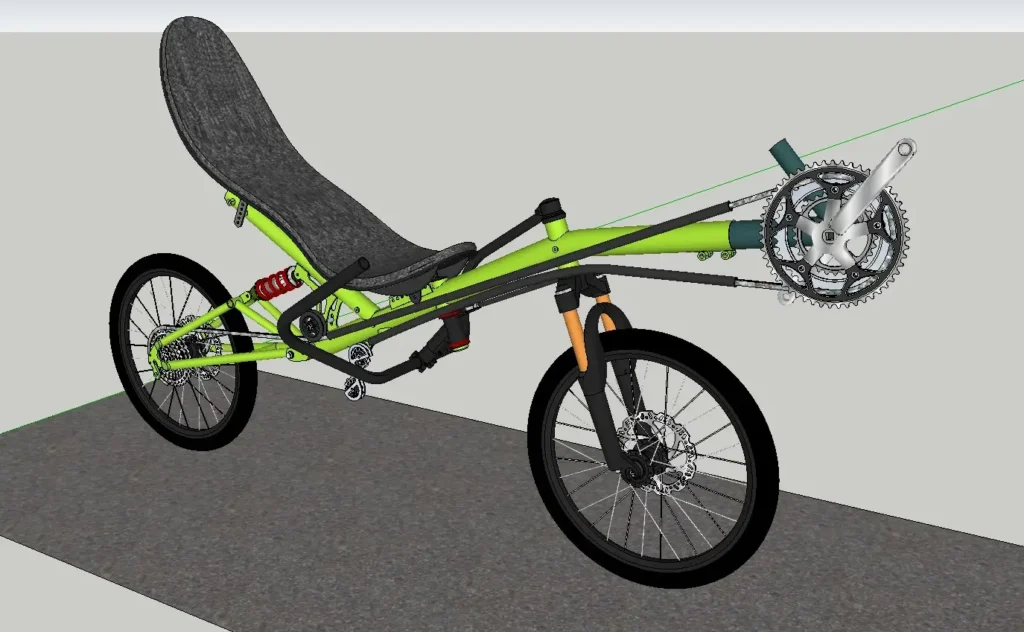
The final design originated from my sketches, which I transferred into a CAD program. There, I fine-tuned the final dimensions and proportions. I was most influenced by the designs of HPV Grasshopper, Flux, and AZUB, among others.
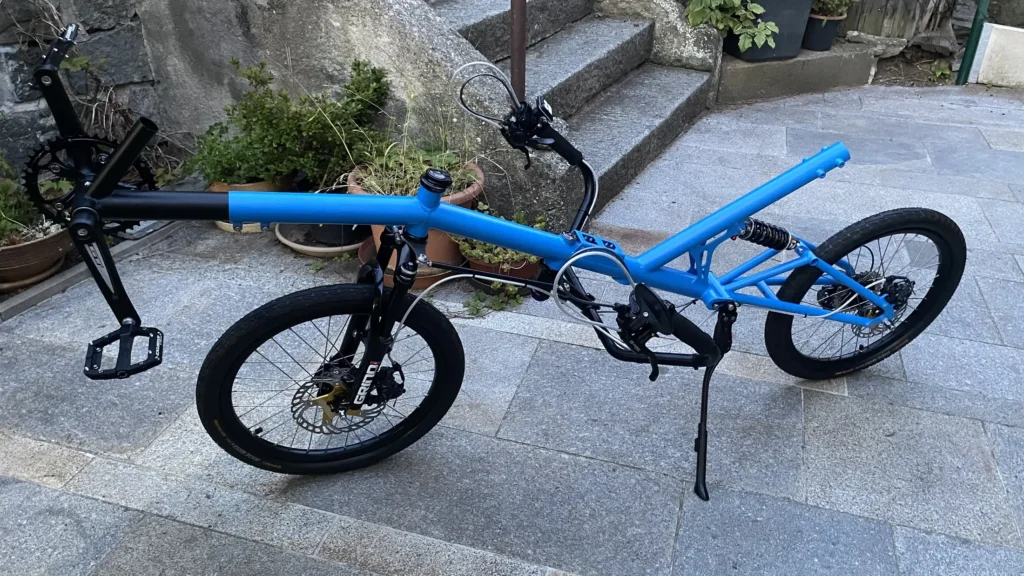
From the start, I intended to build a fully suspended bike, even at the cost of added complexity. To avoid excessive weight distribution on the front wheel, I wanted a slightly longer wheelbase than usual for this type of recumbent. With a longer wheelbase, the seat ended up more centered between the wheels, and the bottom bracket protruded less in front of the front wheel, making the entire bike appear more visually balanced. The final design resulted in a wheelbase of 1200 mm / 47.2″.
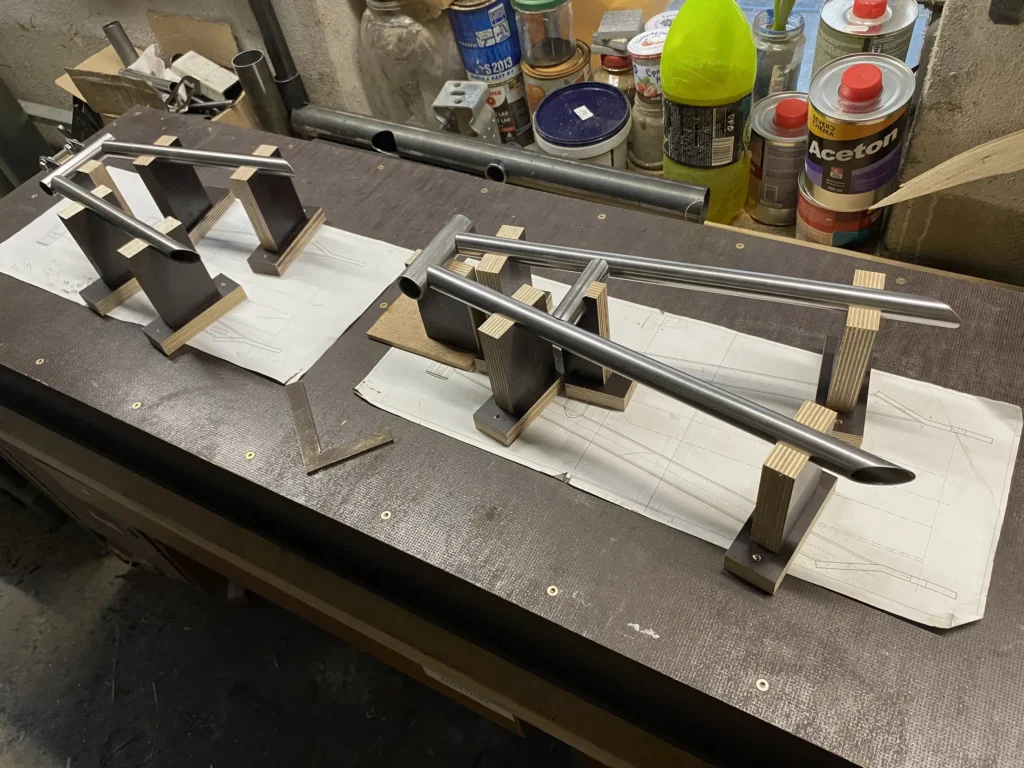
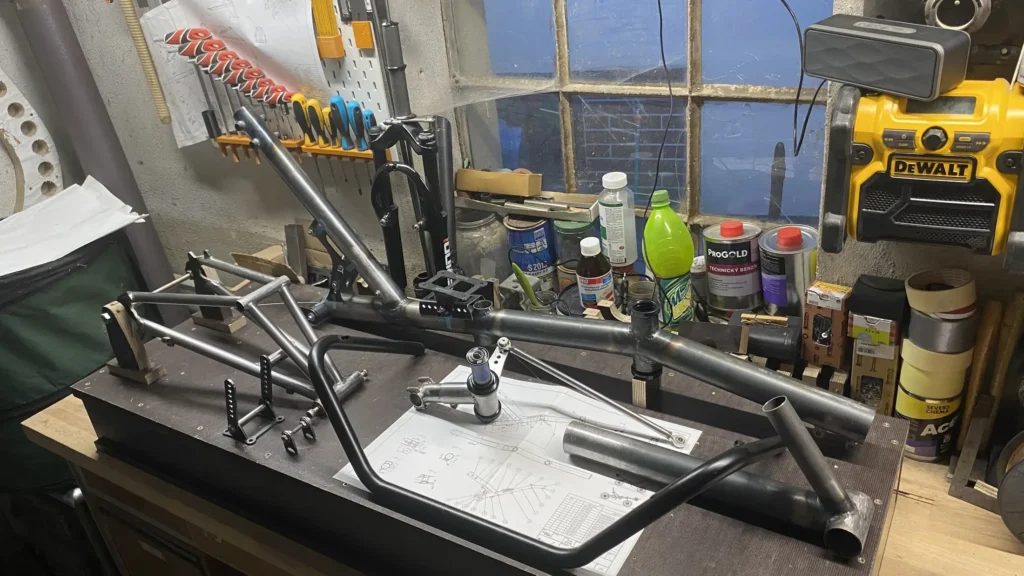
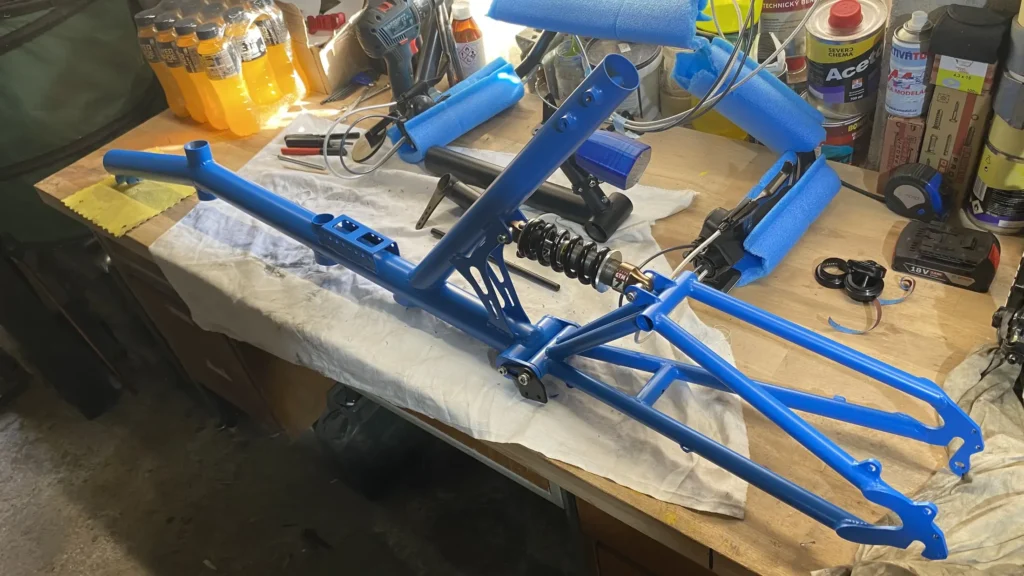
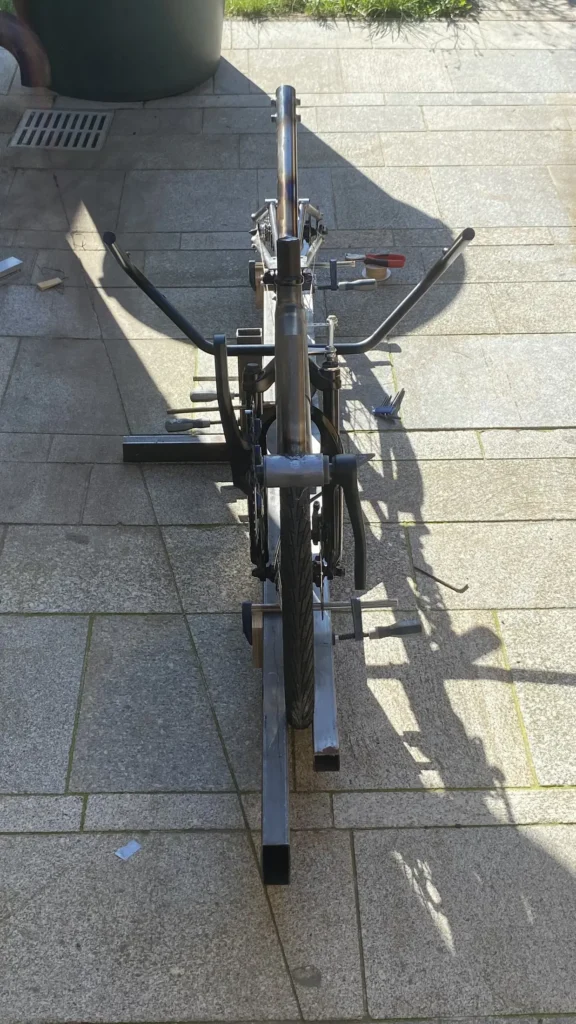
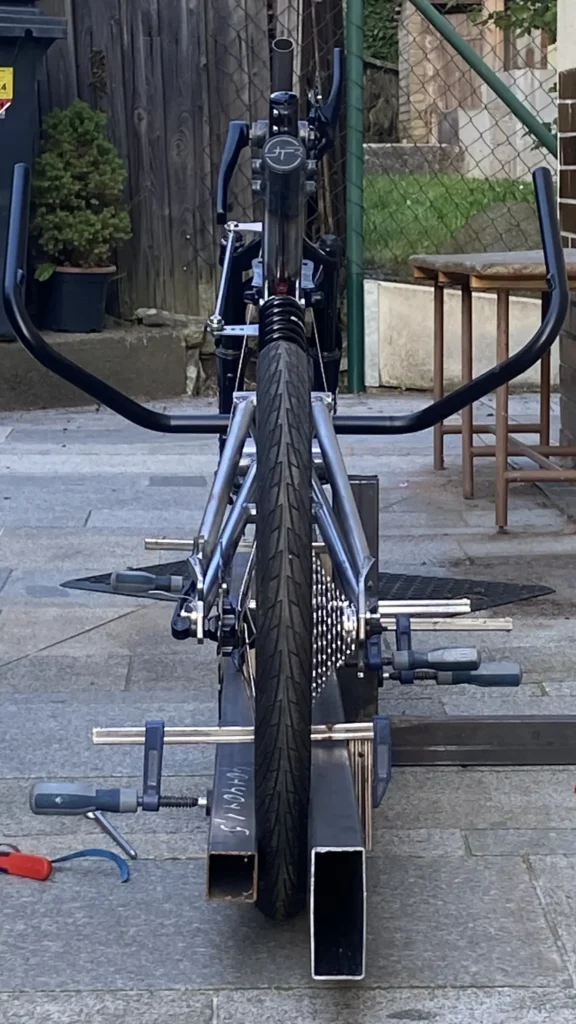
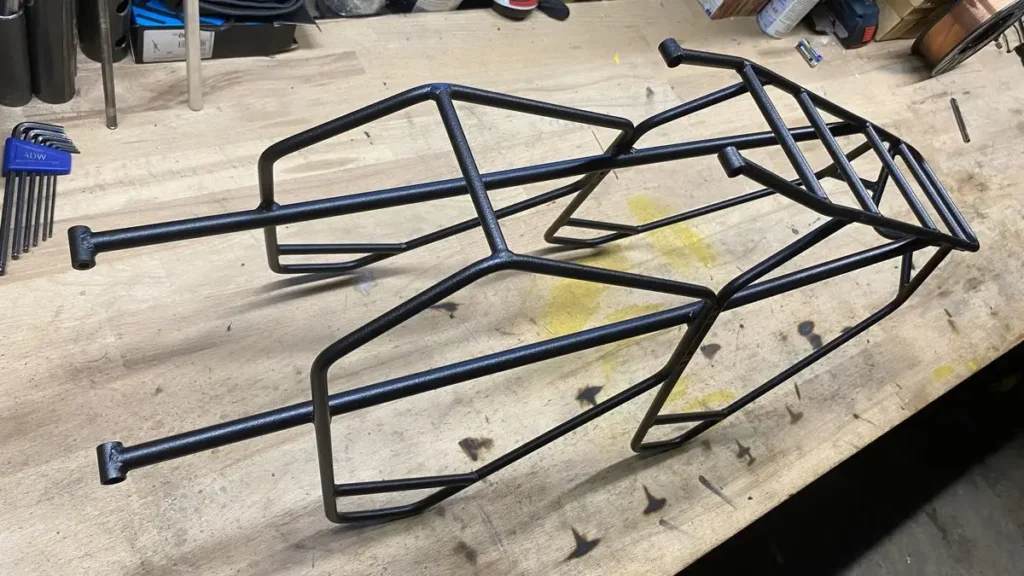
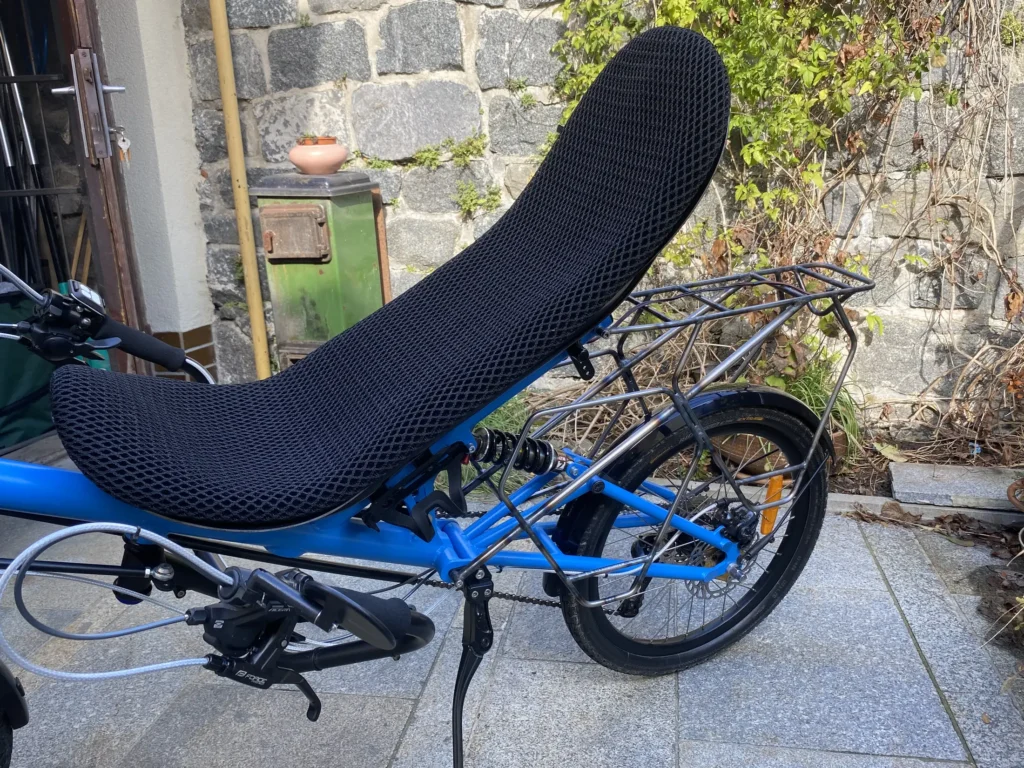
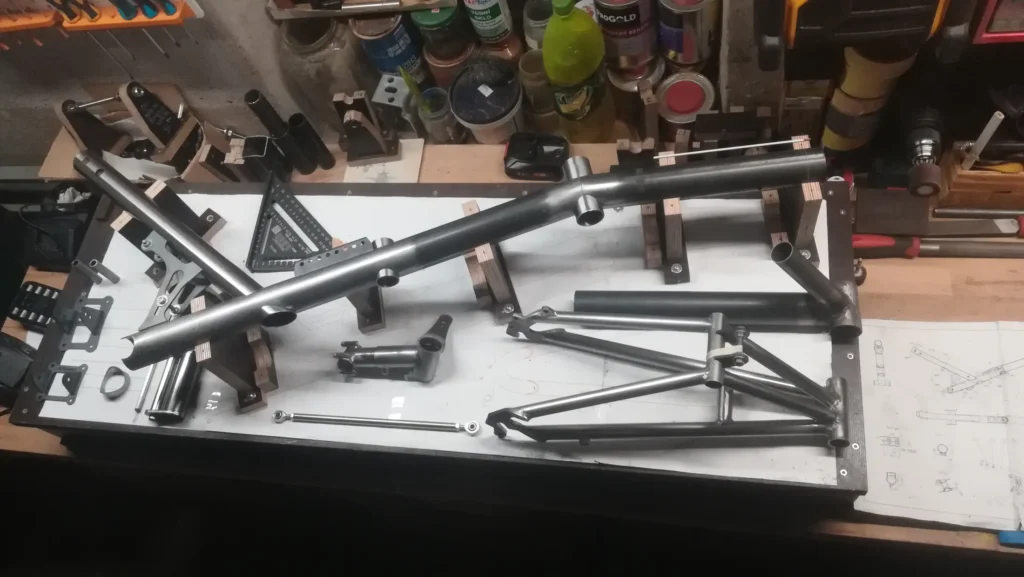
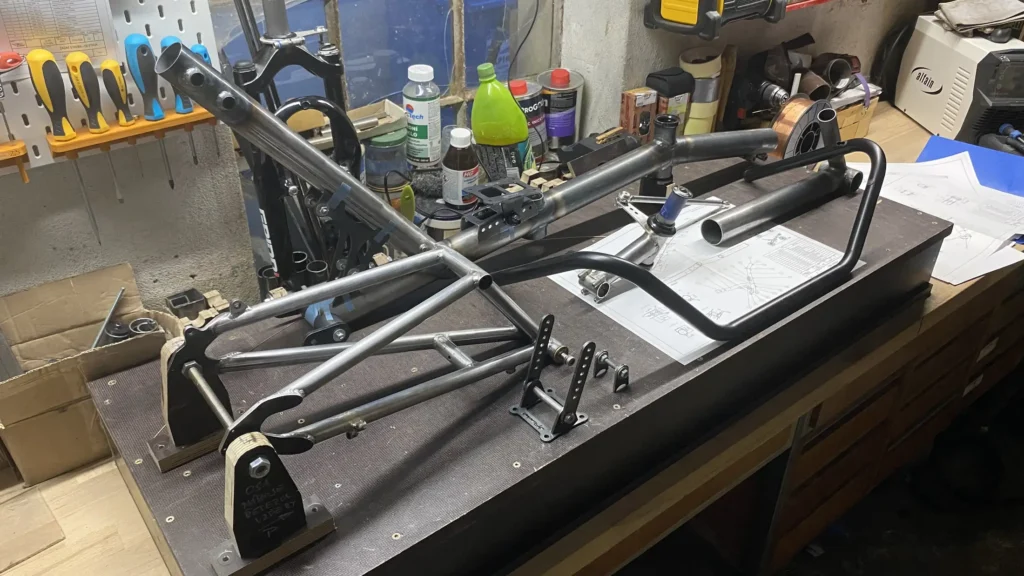
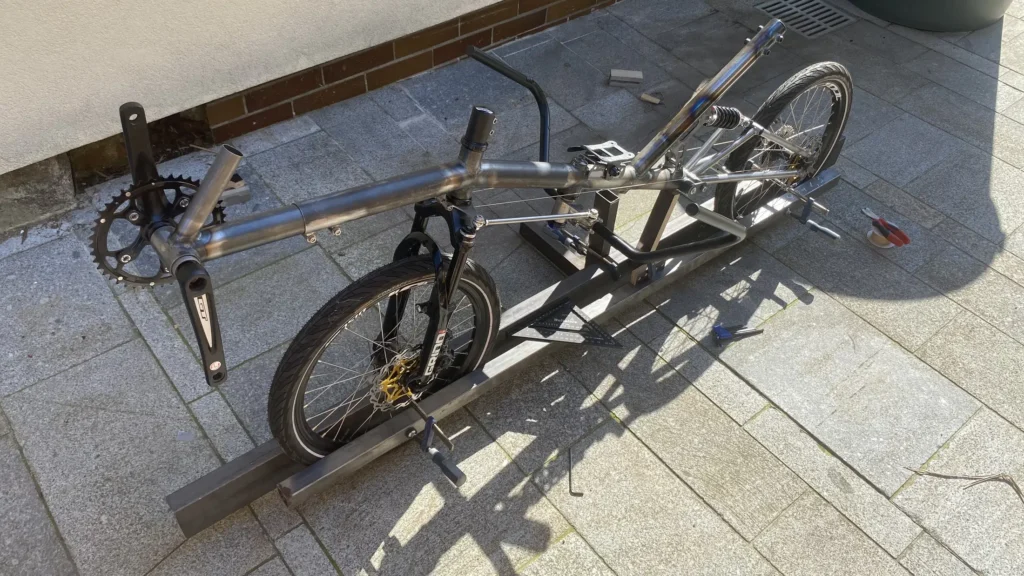
All main frame components are welded from straight tubes without bends, using standard structural steel with a 1.5 mm / 0.06″ wall thickness. The main frame tube has a 48 mm / 1.89″ diameter, while the rear triangle tubes are 18 / 0.7″ and 20 mm / 0.79″ in diameter. The entire frame is TIG welded in jigs, with some smaller parts brazed. The bottom bracket shell was cut from an old bike frame, as was the stem. All other frame parts were newly manufactured. Flat components were laser-cut according to my CAD drawings at a local shop. A friend with a metal workshop machined additional custom parts.
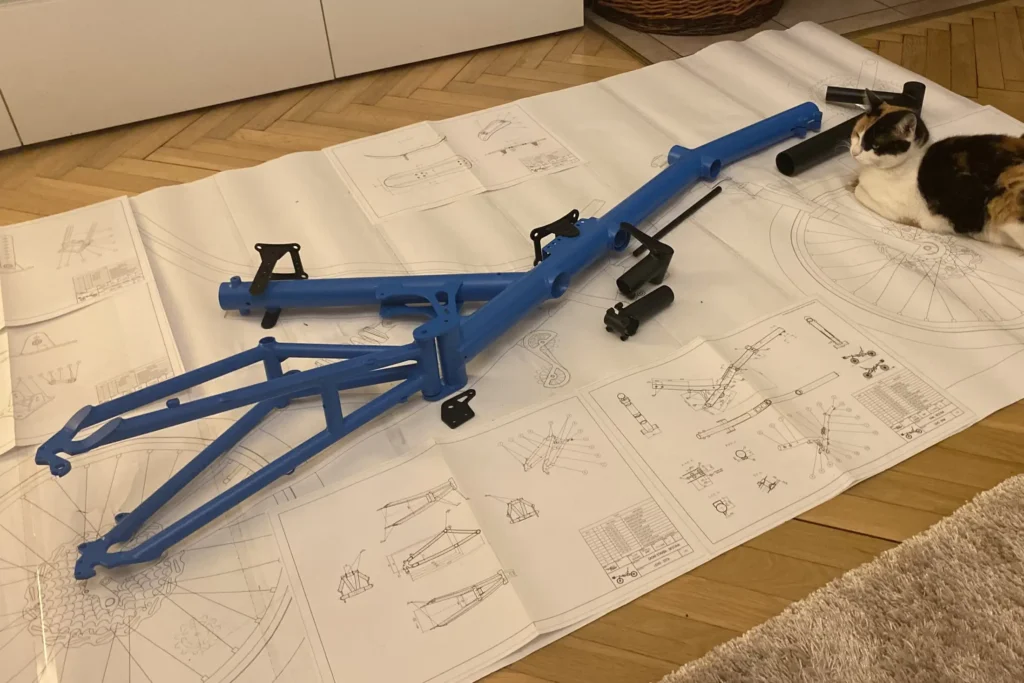
Before assembly, I had the frame powder-coated.
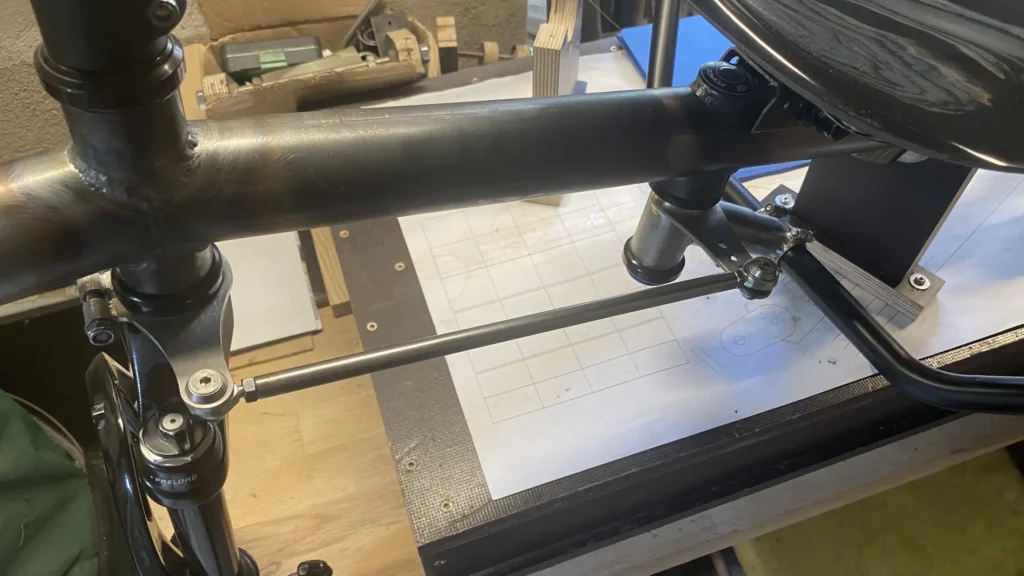
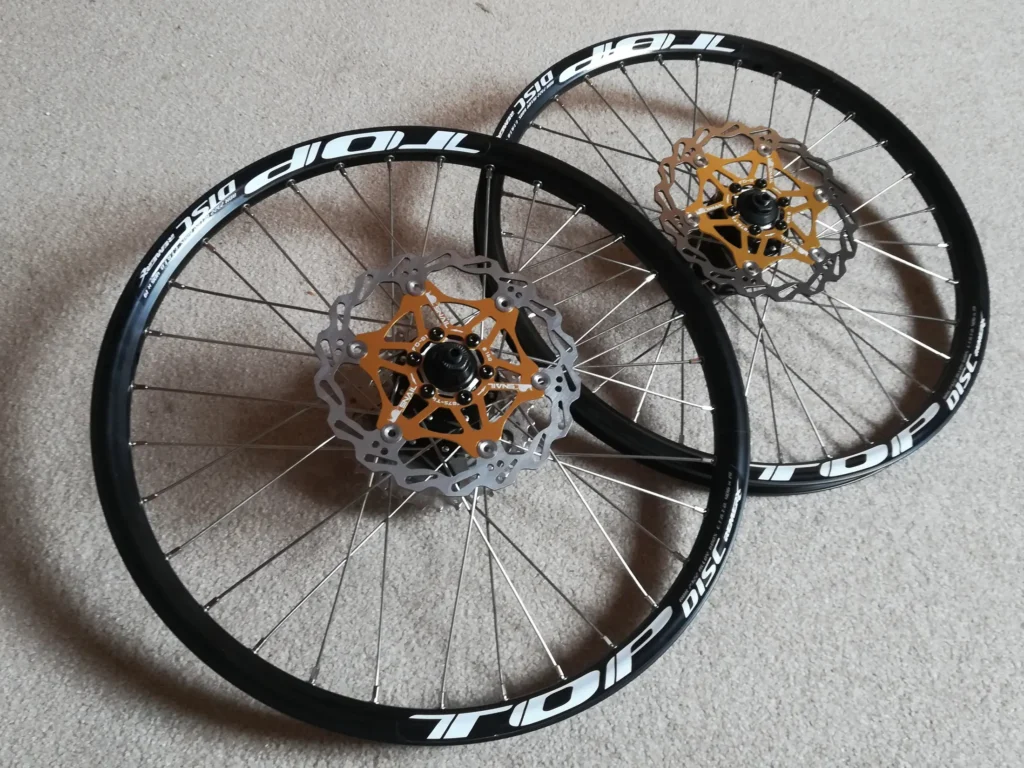
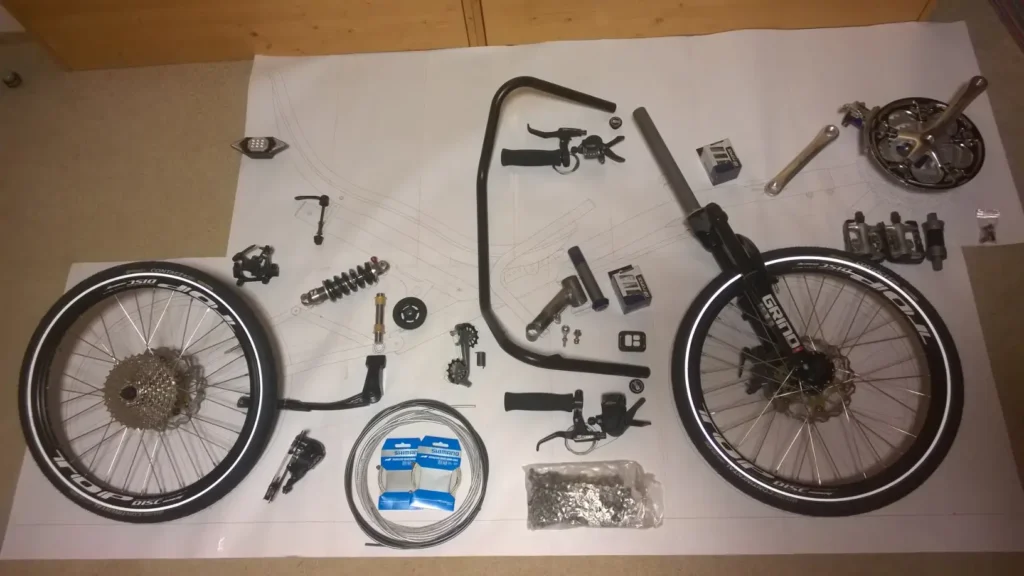
AZUB was very helpful in providing all the specialized recumbent components, including chain management parts, handlebars, the seat, and the front fork-mounted steering linkage. Other components are standard. I chose a 3×9 drivetrain, combining a Shimano Sora derailleur with a short cage and a Sturmey-Archer CS-RK3 three-speed hub. The cassette ranges from 11-34T, paired with a 38T chainring, and the crank arms are 165 mm long.
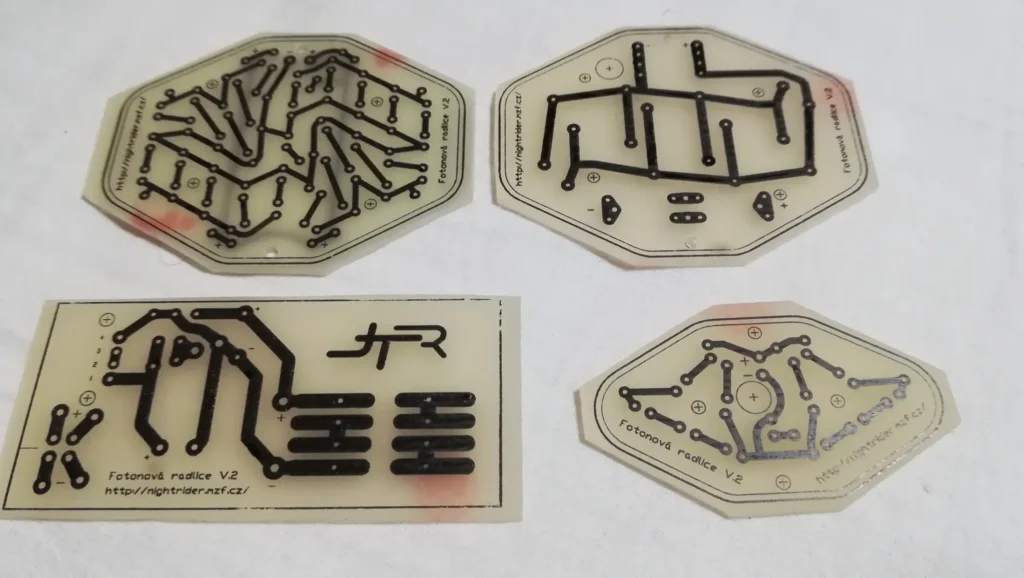
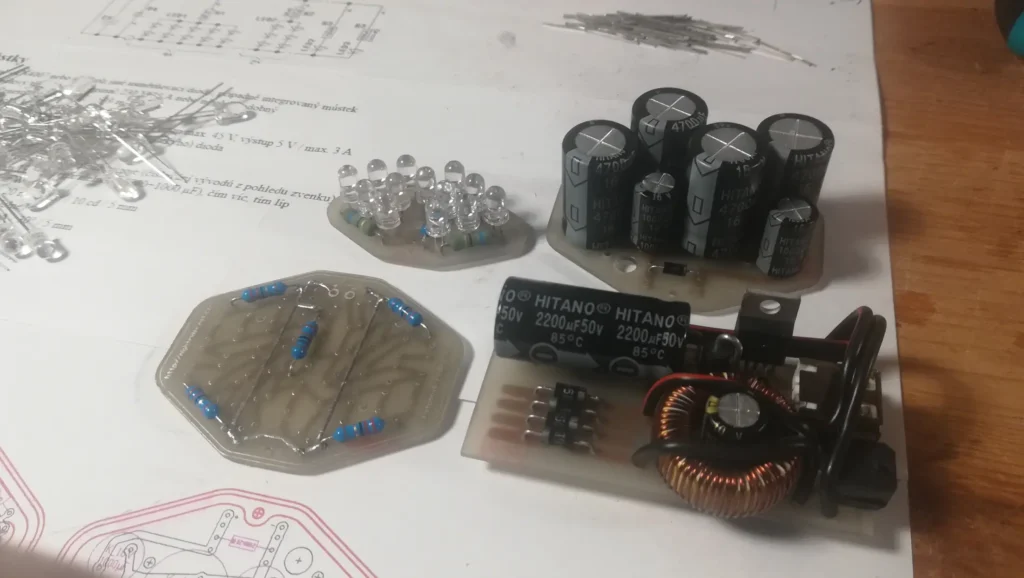
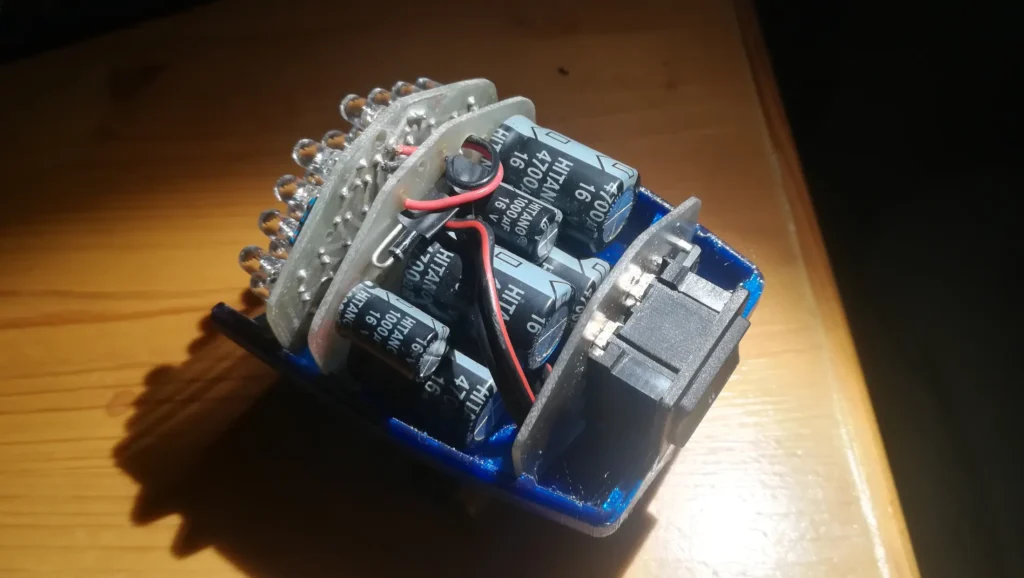
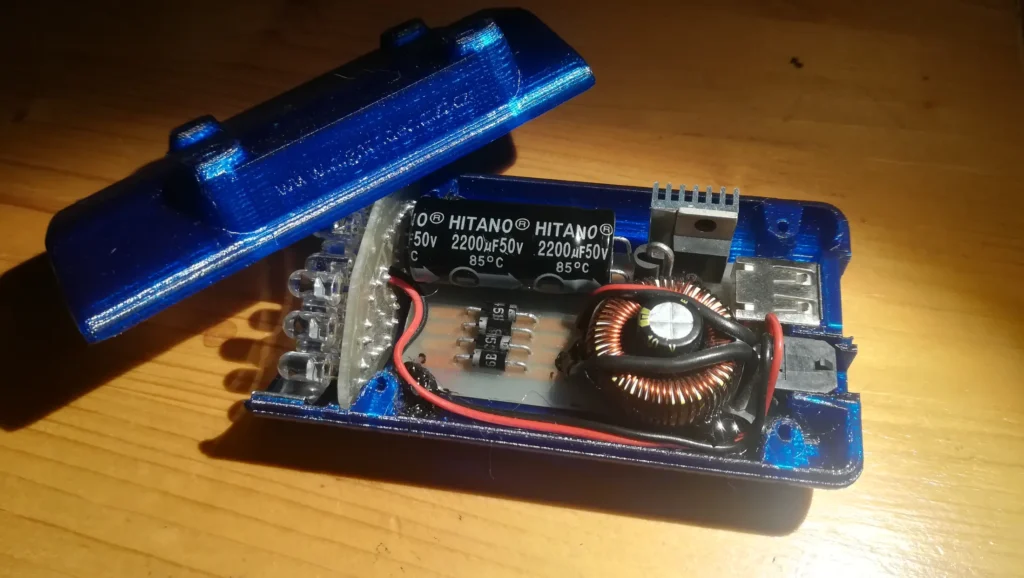
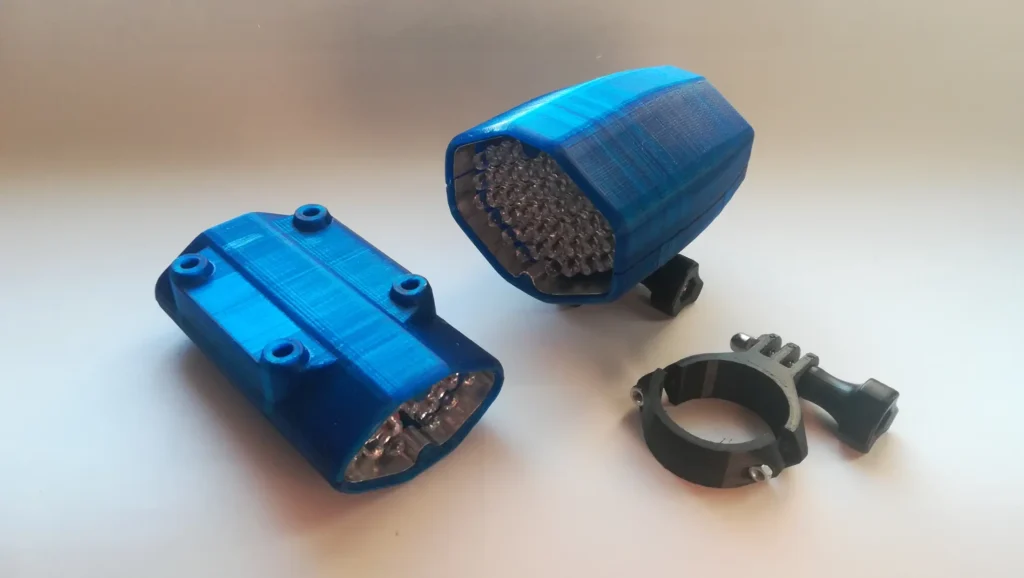
A Shimano dynamo hub in the front wheel powers the lighting system. The lights are 3D-printed based on my design, and the wiring scheme, including a charging function, was found online under the name “Fotonová Radlice.” In November 2024, I had the opportunity to test the lighting during nighttime rides home thoroughly, and the results exceeded my expectations.
I wanted the final look and build quality to be as close to a professionally made bike as possible.
How Did You Get Into Recumbent Bikes?
I first saw a recumbent bike in Germany in 1990 when visiting relatives with my parents. Their neighbor had one parked in the shared garage. I was 11 years old at the time and found it fascinating, but I couldn’t understand how it stayed balanced.
The second time I encountered a recumbent was at the Bike-Brno trade fair, where AZUB exhibited and offered test rides. I gladly took the opportunity, which was the moment I seriously considered getting a recumbent. The idea stayed with me for years. I occasionally mentioned it, and in 2019, I received a weekend rental of an AZUB Mini as a gift during a recumbent gathering. It was a fantastic experience. I got to see different designs, both factory-made and DIY builds, and talk to owners about their insights and experiences.
At that gathering, I decided to build my own recumbent based on my own design. I could have bought a used one, but that wouldn’t have been as much fun. Building my own bike was a challenge to see if I could do it.
Did You Consider a Trike or Only a Two-Wheeled Recumbent?
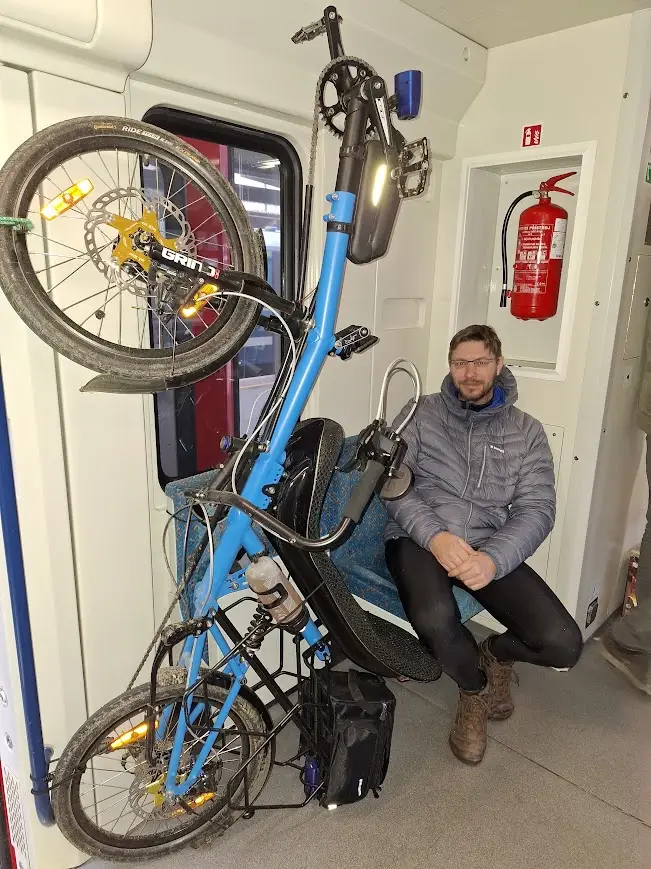
I never considered a trike. It didn’t seem practical for my type of riding. We usually travel by train, often with a group of up to twelve bikes. Handling a trike in such a setting would be pretty challenging.
Did You Have Any Prior Experience with Engineering or Metalworking? Have You Built Anything Similar Before?
Years ago, I built a sea kayak from plywood using purchased plans and was heavily involved in building model airplanes. But that was all woodworking. Fabricating a recumbent frame was a completely new experience for me. I am familiar with bike mechanics and perform all maintenance on my bikes, so I understood how everything should be assembled. I also have a background in mechanical engineering, so I refreshed my technical knowledge. However, I had to learn about materials, tube diameters, and how to construct the rear swingarm from scratch. I researched everything online, studying recumbent and trike plans and learning from DIY builders’ websites.
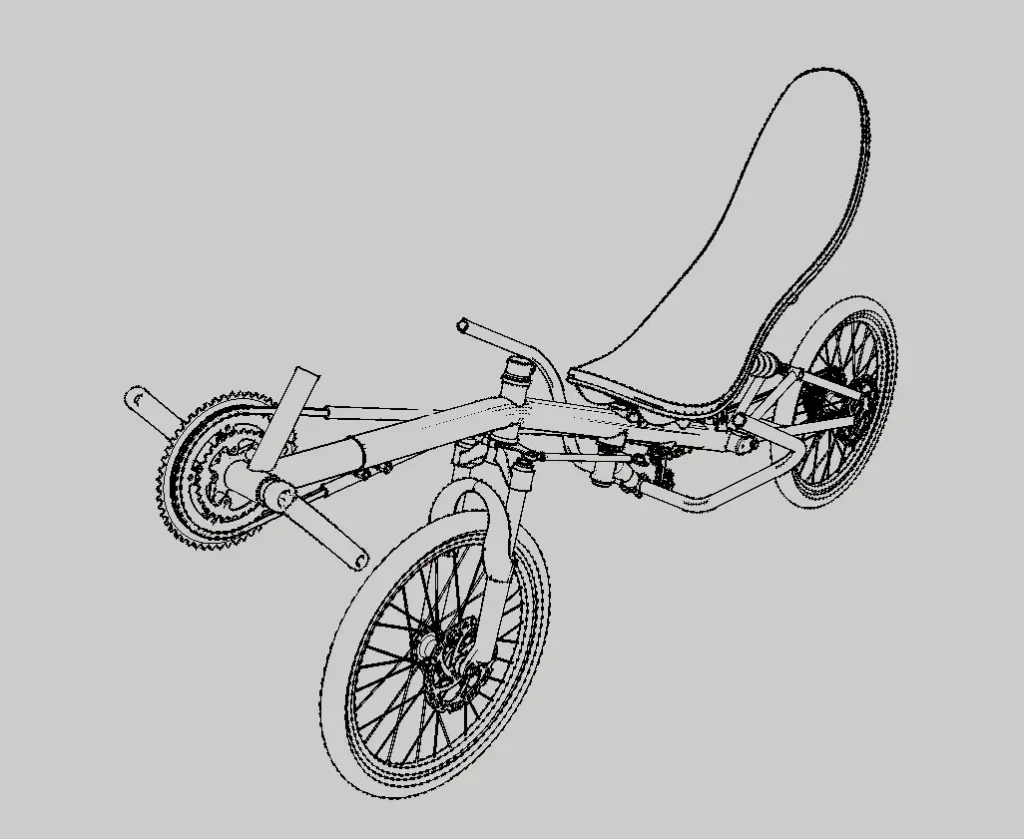
How Did You Prepare Your Drawings?
I created all the drawings in CAD, producing manufacturing blueprints for each part. I carefully planned every detail to avoid redesigning during the build. I also made a 3D model of the entire bike to ensure everything fit properly—checking, for example, that the chain wouldn’t interfere with the rear frame.
How Long Did It Take?
I started sketching in the fall of 2019 and completed the bike (without the rack) in July 2024. Over those years, with some long breaks, I spent about 1-2 years working on it in total.
The most time-consuming part was preparing the technical documentation. I wanted the final look and build quality to be as close to a professionally made bike as possible. This meant refining the frame design, testing different solutions, and balancing aesthetics with ease of assembly. Achieving this balance was quite challenging. The actual construction took about a quarter of the total project time.
What Was the Most Difficult Part?
Everything related to the physical construction. Designing was complex but enjoyable and relaxing. Fabricating the frame was something entirely new, and I didn’t want to make any mistakes. I had to develop step-by-step methods suited to my tools, create welding jigs to keep the frame straight, and carefully approach each task without knowing the outcome in advance. This extended the build time, but fortunately, there were no major setbacks.
Another challenge was designing the luggage rack. I went through multiple design iterations before settling on an asymmetric hexagonal shape that complemented the frame’s angles and provided flexible mounting points for panniers.
Do You Plan Any Modifications or Even Another Bike?
After 1000 km of riding, I haven’t encountered any major issues—only small details that could be improved. For example, the derailleur hanger is integrated into the frame, but I would make it replaceable next time. I would also reconsider some mounting points on the frame.
I am currently working on a recumbent design for my daughter, which I plan to build this year. It will be a 20″-26″ SWB with over-seat steering. The overall geometry will be similar to my bike, but with a slightly higher and more forward-positioned seat and a lower bottom bracket.
Where Do You Plan to Ride Your New Bike?
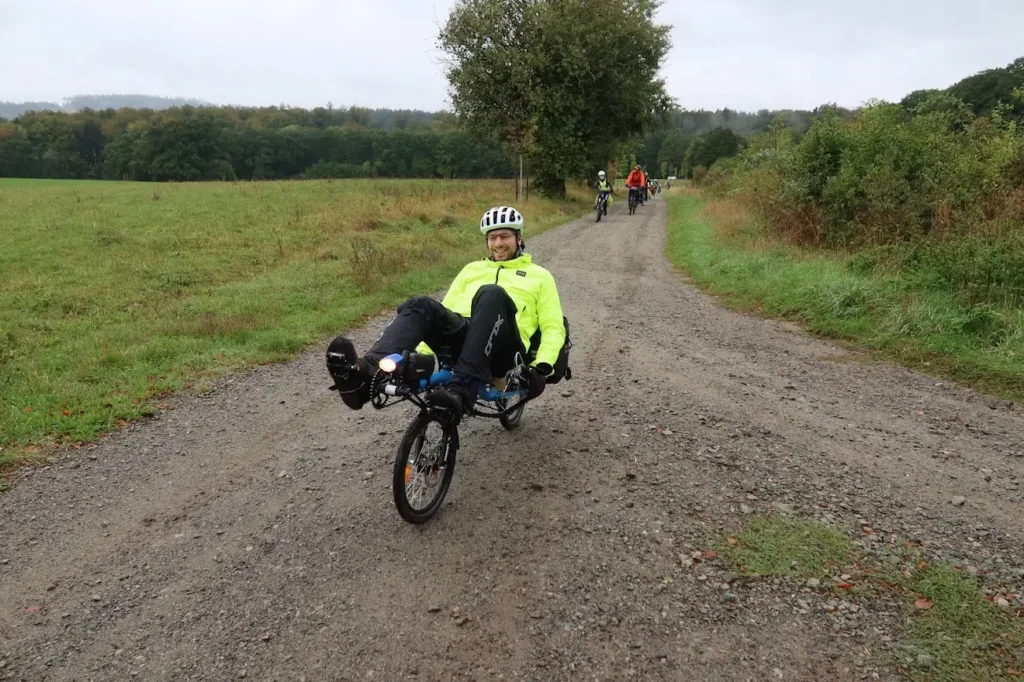
I use it for both single-day weekend trips and fully loaded multi-day tours with friends, sleeping under a tarp in nature. So far, it has performed perfectly. This spring, we have two four-day trips planned across the Czech Republic, and I also plan to attend the annual recumbent gathering in Uherský Brod.
Any Final Words?
I’d like to thank my family for their patience and my friends for their help with the build—especially Tomáš and Jindra Gregora for machining all the custom parts, and Mirek for his guidance on the lighting system. Also, a big thanks to AZUB for their support in providing recumbent-specific components, which made the project much easier.
Jan Tomášek

Year of Birth: 1979
Residence: Čerčany
Education: Mechanical Engineering High School
Occupation: Sales Representative
Hobbies: Aircraft modeling, canoeing, all types of cycling
Bikes: MTB Rockmachine Lanslide, road bike FORT RO.SLC, folding bike FOLDY 2016
